What Is Already in the Wall Before Custom Cabinets Go In: Outlets, Vents and Heaters
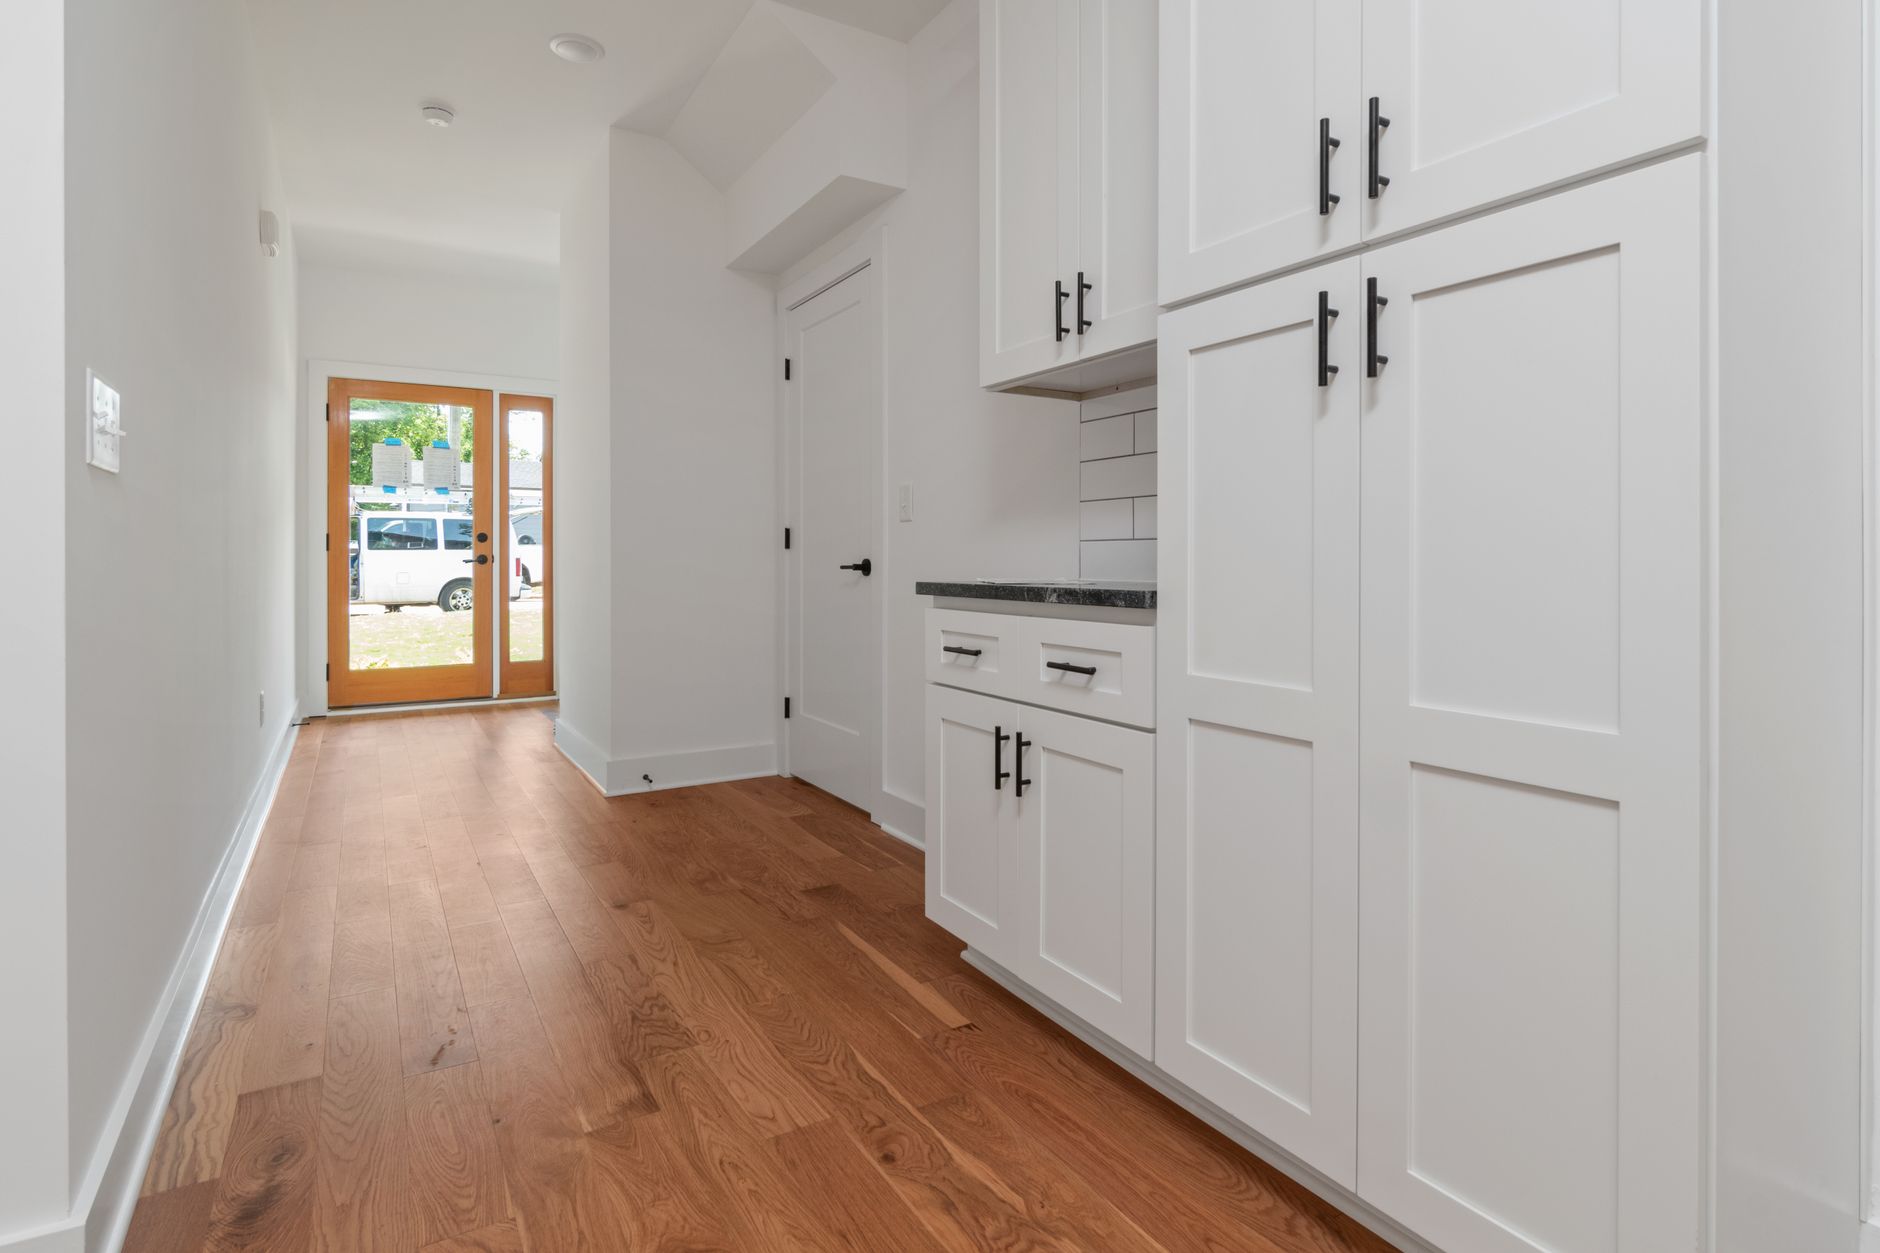
Most built-in projects get drawn from the room's dimensions. Alcove width at three heights, ceiling height, depth from the back wall to the face of the trim, floor level across the opening. Those numbers are the easy part, and they are the ones everybody remembers to take.
The numbers that decide whether the cabinet can be built as drawn belong to the things already living in that wall. A duplex receptacle eleven inches off the floor, dead centre of where the fixed back panel lands. A switch at the edge of the opening, exactly where a face frame stile wants to be. A floor register in the carpet six inches out from the baseboard. Nine feet of electric baseboard heat running the full width of the alcove.
A survey of all of that comes first in everything custom cabinets yakima works handles, from a single alcove bookcase to a full wall of entertainment cabinetry, and it costs an hour with a tape measure, a roll of painter's tape and a phone camera. Done at the start it is a planning conversation. Discovered on install day it is a finished cabinet sitting in the driveway while somebody calls an electrician.
Three outcomes, and every item gets exactly one
Every service in or on that wall ends up in one of three states, and the discipline worth keeping is to write the chosen state next to each item on the drawing before anything is ordered.
Relocate. The device moves outside the cabinet footprint, or above it, or around the corner. Another trade does work, the wall gets patched, and the cabinet is drawn as though it was never there.
Absorb. The device stays roughly where it is and becomes a working part of the cabinet. A receptacle ends up inside a media bay. A register gets a grille in the cabinet base. Openings are cut in the shop rather than on site.
Design around. The cabinet changes shape to leave the device alone and reachable. An open bay in the middle of a run, a short return instead of a full wall, a removable panel in front of something that has to stay accessible.
The failure case is a fourth state nobody chooses out loud: cover it and hope. That is how a junction box ends up sealed behind a glued back panel, and how a heater ends up inside a closed box with no air over it.
Receptacles and switches
A receptacle behind a fixed back
This is the most common collision in the whole job and the one with the most options.
If the cabinet has a fixed, glued and nailed back, the receptacle behind it is gone. Not merely unusable but inaccessible, and a device that cannot be reached is a different order of problem than an inconvenience. That conversation belongs with a licensed electrician before the cabinet is built, because what may and may not be covered is decided by the current rules and by the local inspector, not by what looks tidy.
Absorbing it is usually the best answer and the cheapest. The box is extended forward or moved a few inches, the shop cuts an opening in the back panel at a dimension taken off the finished wall, and the result is a working outlet inside the cabinet. That is genuinely useful: a media bay, a charging drawer, a transformer for cabinet lighting. An outlet behind a drawer bank is nearly unreachable while the same one in an adjacent open bay is easy, so specify the position rather than inheriting it.
Two cautions. A thick plug body against a shelf edge will stop a shelf from seating. And a closed cabinet holding a power strip, a receiver and a console is a heat problem, so vent the back, vent the top, or leave the bay open.
The switch at the edge of the opening
A switch plate has to sit flat on finished wall. It cannot bridge half onto a cabinet stile, it cannot sit on a scribed edge, and it cannot be half buried behind a filler.
So a switch within about four inches of the planned cabinet edge is a decision rather than a detail. Either the cabinet holds back far enough that the plate has clear wall around it and its screws are reachable, which usually means a wider filler than the design wanted, or the switch moves. Sideways within the same stud bay is a small job. Past a stud, or across a door, is a bigger one.
Check what the switch does first. One controlling the room light is beside the door for a good reason. One controlling an outlet nobody uses may not need to exist at all.
The patch left behind
A cabinet side scribed to a wall will rock on a proud patch, and a quarter inch hump of joint compound where an old box used to be is enough to open a visible gap at the top of a scribe. Patches inside the footprint need feathering flush, and patches that stay visible need the wall texture matched. Get the patching done, then take the final measure, in that order.
Supply registers, returns and the base of the cabinet
Heating gets blocked by cabinetry more often than anything else on this list, and through a valley winter that is not a cosmetic loss.
Floor registers
A floor register inside the cabinet footprint has two good answers. If the house has a crawl space, as a great many older houses here do, relocating the duct boot a foot or two is straightforward work from underneath and the cheapest fix available. Over a slab, relocation gets expensive and absorbing is usually the right call.
Absorbing means the boot is extended forward with sheet metal and a grille is cut into the cabinet base or the toe space, so air comes out in front of the cabinet instead of under it. The detail that gets missed is free area, because a decorative grille with narrow slots can pass considerably less air than the plain stamped register it replaced.
What does not work is leaving the register where it is and trusting a gap under the toe space. Air rising into a closed cabinet interior heats the cabinet rather than the room, and carries dust into the contents.
A register low on the wall
A low wall register is fed through the stud bay behind it, and that feed constrains the options. Up the wall above the cabinet means opening the bay and extending duct. Sideways may be blocked by a stud or by the riser itself. Sometimes it cannot move at all, which is worth knowing before the cabinet is drawn rather than after.
The return nobody notices
A blocked supply is noticed within a day, because the room goes cold. A return grille covered by a bookcase is not noticed at all, and it is the more serious of the two. The furnace pulls its air from somewhere, so starving a return raises static pressure across the whole system and shows up as doors that whistle and rooms that will not balance.
A cabinet almost never absorbs a return well, because running return air through the interior turns the cabinet into a filter. Moving the grille higher up the same wall is the usual fix.
Baseboard heat and wall heaters
A run of baseboard heat along the back of an alcove is the one item here that can kill a design outright.
Electric and hydronic baseboard both work by convection. Cool air enters at the bottom, warms, and rises out of the top. Box either one in and it stops working, and in the electric case it becomes a hazard rather than an inefficiency. Every unit has a data plate and an installation sheet specifying clearance above, in front, and from floor coverings. Those figures vary by model and they are not guidelines, so read the plate on the actual unit and confirm the install with the local inspector or a licensed electrician.
That leaves four honest options.
Split the built-in into flanking towers with the heater in an open bay between them. This is usually the best looking answer as well as the easiest, and it reads as deliberate rather than as a compromise.
Shorten the heater. An electric unit can often be swapped for a shorter one of higher output per foot on the same circuit. A hydronic run can be shortened too, but the loop then needs rebalancing, which is a plumber's call and not a carpentry one.
Move the heat to another wall. Expensive for hydronic, more reasonable for electric if a circuit can be routed, and worth pricing when the built-in is the point of the room.
Build a window seat with a designed grille top and front and a real air path behind it. This can be done well and is done badly far more often.
Recessed fan forced wall heaters, common in hallways and older bathrooms, follow the same logic with a different constraint: they occupy a stud cavity and a dedicated circuit, so relocating one means finding another cavity and extending that circuit.
The thermostat and the low voltage runs
A thermostat's position is a sensing decision wearing the disguise of a cosmetic one. It reads the air where it sits, so it should not sit above a cabinet full of electronics, inside a recess with no air movement, or over a heat source. A built-in that puts a receiver and a television under the thermostat will overheat the sensor and underheat the house. The good news is that a thermostat is usually the easiest thing here to move, because the wiring is low voltage and small.
Coax, ethernet and speaker wiring want absorbing rather than relocating: brought through a grommet into a chosen bay at a chosen height. Decide which bay before the back panels are cut, and ask for a second grommet. The run added two years later is always the one nobody allowed for.
Doing the survey yourself
Clear the wall completely. Put a strip of painter's tape beside every outlet, switch, register, grille, thermostat and jack, and write on the tape what it is.
Dimension every item from one fixed corner and from the finished floor, both edges and both heights, not centres. A centre is fine for a drawing and useless for a scribe.
Photograph the whole wall with a tape stretched along the floor in frame, then each item close up. Note what each circuit serves, because a receptacle on its own circuit for a window air conditioner is a different problem from one on a lighting circuit.
Then, when a wall does get opened for a relocation, photograph the open cavity before it is closed. That picture is what keeps a long mounting screw away from a cable later.
The order that keeps all of this cheap
Survey the wall. Assign relocate, absorb or design around to every item. Have the electrician and the heating contractor confirm the relocations are possible and price them. Get that work done and inspected. Patch and texture. Then take the final measure, then build, then install.
Run it in that order and each of these items is a line on a drawing. Run it backwards, with the cabinet built first, and each one becomes a change order against work that is already finished.